The squeak is caused by properly attached wood subfloors to the joist. A joist is the horizontal beams (wood) that actually support the weight of the house that are parallel to each other and run along the length and width of the house or building.
What you’ll need:
-
Nails
-
Drill
-
Tape measure
-
Hammer
-
Stud finder
The First step: Find where the squeak is.
Walk all around the floor area, marking off the squeaky areas with string. A tip on finding which way the joists run is to remove a light fixture on the first floor, which is typically screwed to the joist. This tells you where he joists are and the direction they are under the carpet.
You can also use a handy stud finder to find the joist, or take your hammer and tap the carpet to find the sound difference over the joist and empty bays.
I have had a squeaky bedroom floor in the apartment I have been living in for the last six months (and six months of the worst squeaky bedroom floor ever), and the best way I was able to find the joist was by the hammer and tap method.
This works well when one, you do not have a stud finder and would like to avoid buying one, and two, it is quite clear to hear the sound/pitch difference when taping around the floor with your hammer.
Once I was able to find the joist, I used a tool similar to a drill bit, but with only 4 threads and a smooth finish shaft that allows the tool to drill without damaging carpet, or other flooring types. A tip on this step, is to go along the joist and every inch or so drill and verify that it is the joist for sure.
Joists are also conveniently spaced apart every 16 inches, and a simple measuring tape measuring 16 inches right or left of where you are with the joist you have just found, and it will lead you to the next joist over, given that you have in fact found a joist, confirming where you may now put some nails in through your carpet where you have been tracking the joist to drill.
To secure the joist and fix the squeaking floor problem, you can approach this step a few ways. The most common thing that most people will do is to use special screws coated with wax to prevent carpet damage, and a drill.
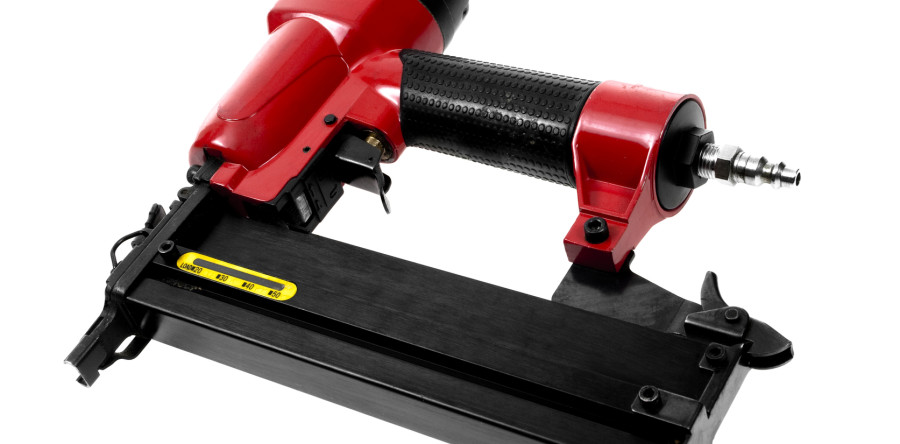
HOWEVER, if you also do not have one of those, you will most likely need to invest in something to make this fix. Another way to quickly solve the issue of getting some kind of drill for your screws, is to buy or borrow, like I did, a nail gun.
This approach may seem like a rip-off from using a drill with the special screws, but it worked for me, was almost completely free besides the nails, and overall took only 20 minutes!
Same steps to finding the joist, making sure it is a joist to nail or drill on, and instead of using the screws for the safekeeping of the carpet, etc., put a nail gun into the bed of the carpet as best as possible to avoid anything showing or sticking out of the floor, and just as you would with a drill in securing the floor, going about it the same way, with maybe your husband’s nail gun, or a friends will work too, and boom, boom, boom, all done in less than 30 minutes, with a quick and easy fix, in half the time using a nail gun instead of a drill, and there it is. Your squeaky floor is now NO MORE!!
(Note that using a drill and specific screws intended for joists is the best, and most guaranteed way to solve the problem if your goal is to preserve the room or carpet of the home, but this way will work almost all the time, for any squeaky floor situation.)
Please use all proper safety precautions, tool, etc., when taking on any “fix it yourself” task or projects under no supervision or when attempting home repairs and construction projects yourself if you are not a trained professional constructor or builder, or have had prior experience using nail guns.